This electronic turn signal flasher is the part that fixed the solid, non-blinking turn signal on my classic Mustang. It replaces the original thermal flasher and blinks reliably whether you have one bulb, a full set of incandescent bulbs, LEDs, or a mix.
Because it uses a timing circuit instead of heat, it doesn’t care how much current your bulbs draw. That makes it the go-to fix for LED hyper-flash, and it still makes the classic clicking sound so you know when your signal is on.
This post contains affiliate links. We may earn a commission from qualifying purchases at no extra cost to you.
Electronic Turn Signal Flasher at a Glance
- 12-volt electronic flasher, a direct replacement for the original round thermal canister
- Flashes with any load: a single bulb, incandescent bulbs, LEDs, or a mix
- Fixes LED hyper-flash and turn signals that stay on solid without blinking
- Brighter, stronger flash than a worn or underloaded thermal flasher
- Audible click like the original, so you don’t leave your signal on
- Includes a ground wire lead that connects to a clean chassis ground
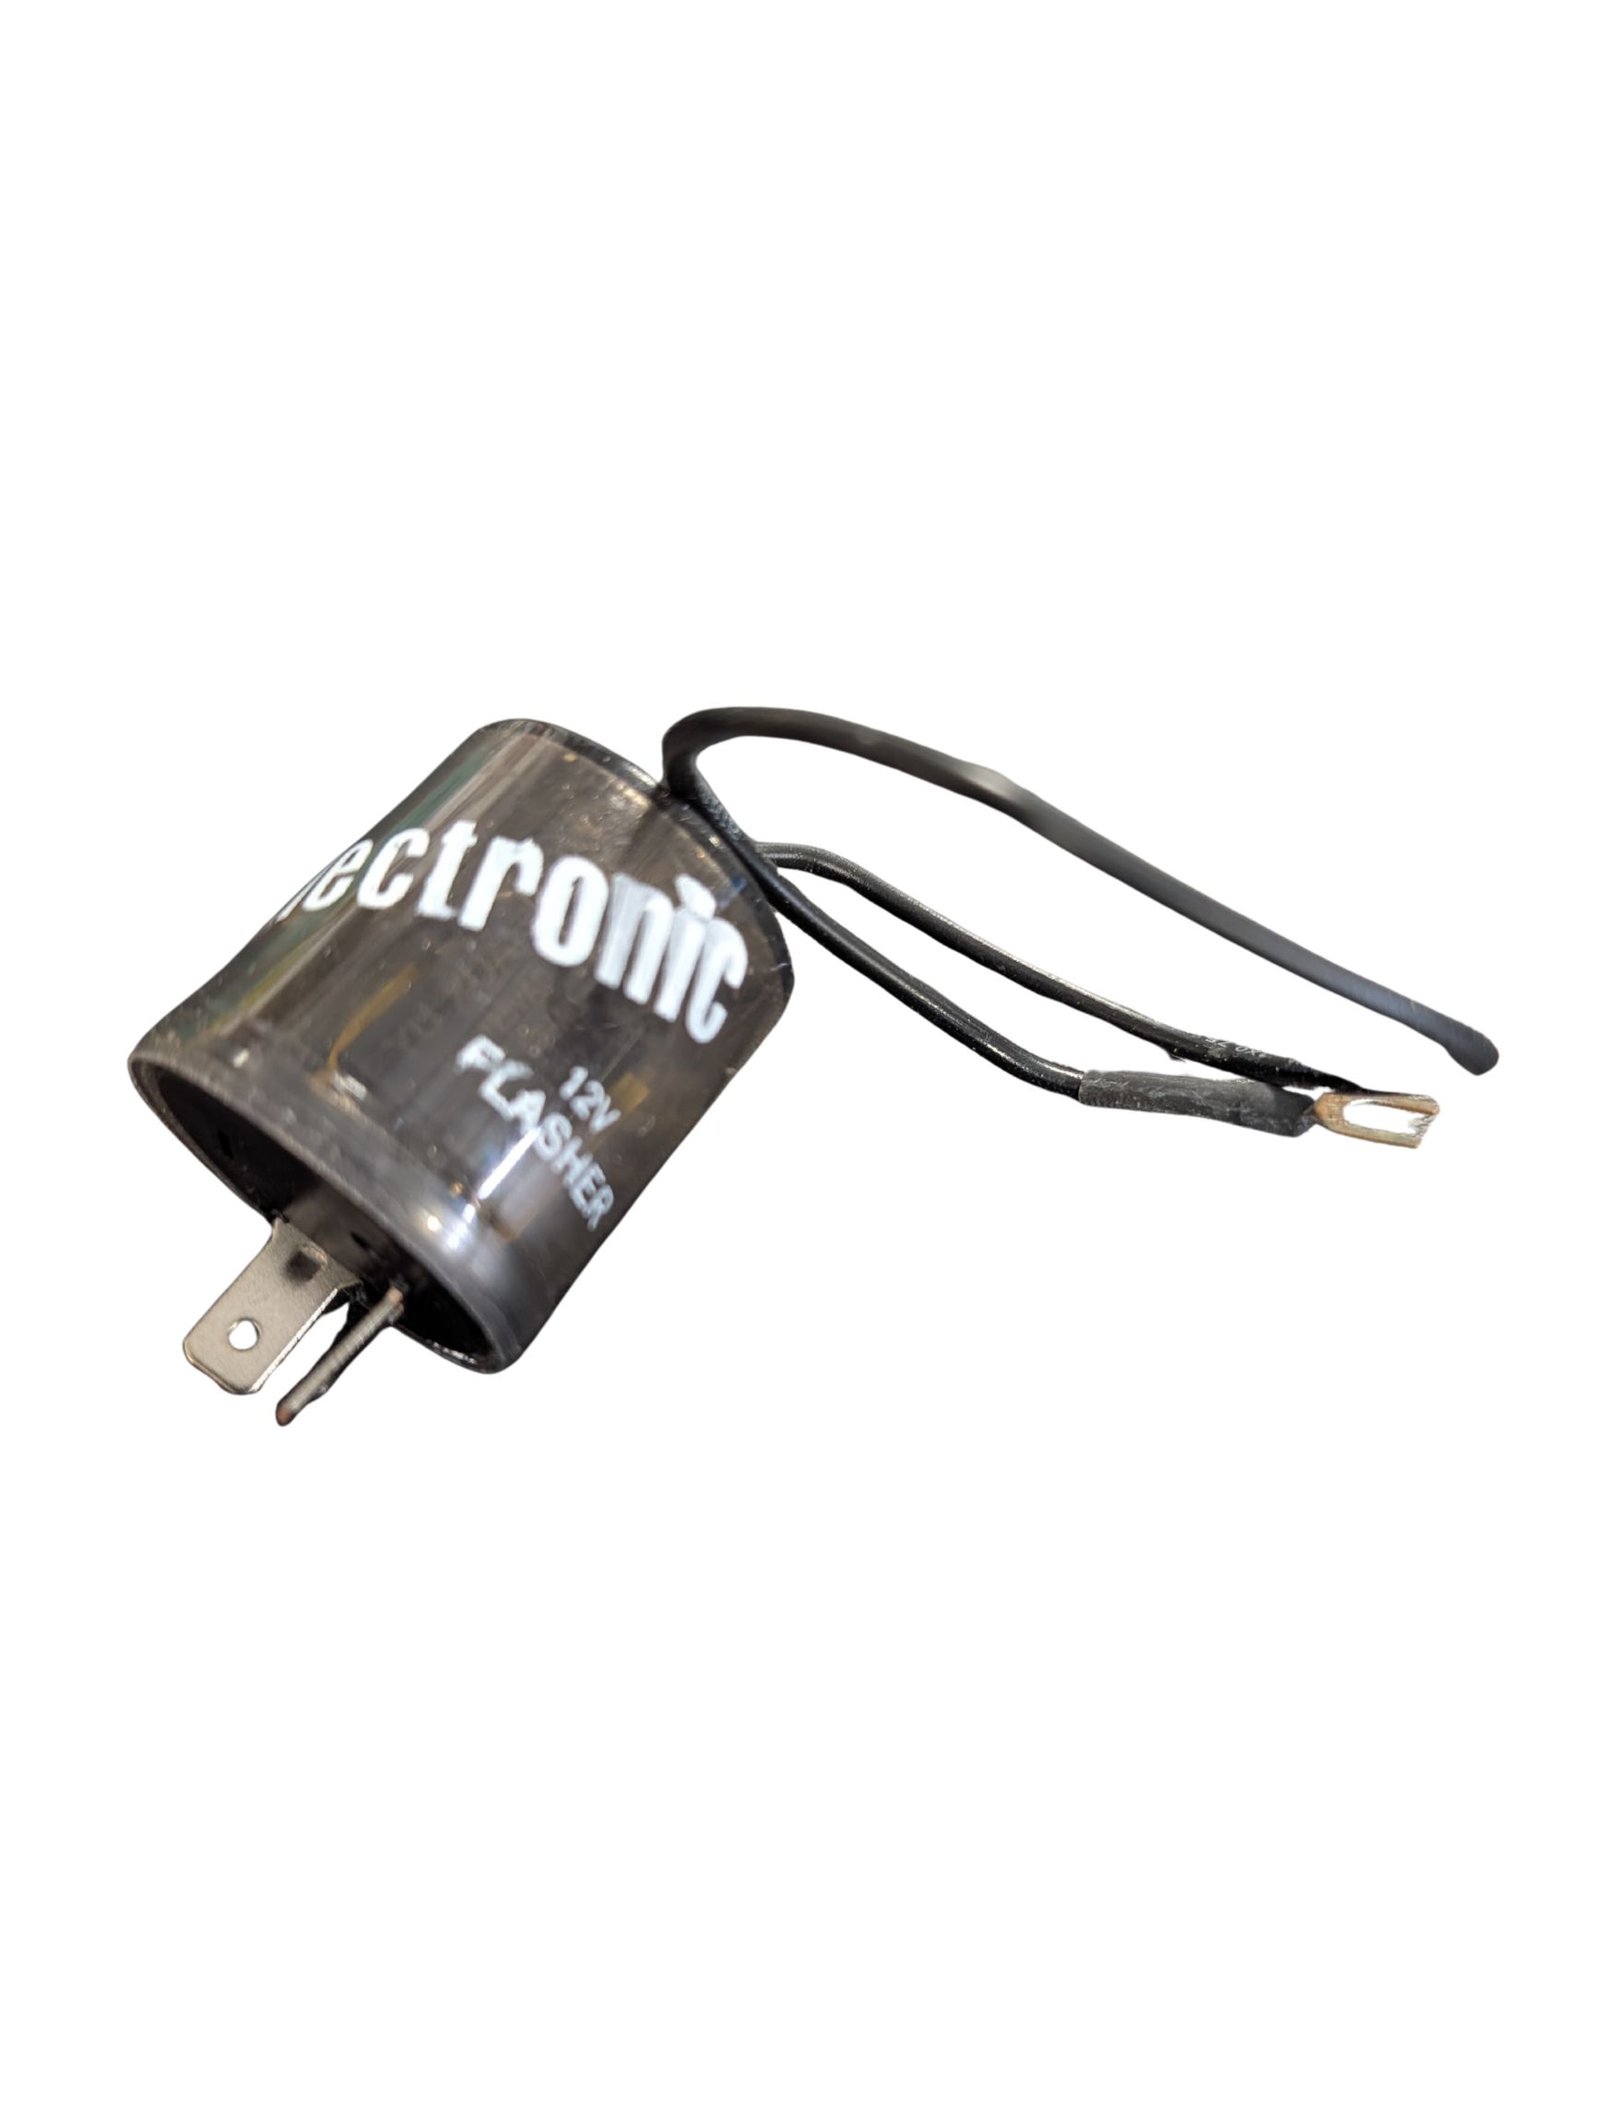
Why I Switched to an Electronic Turn Signal Flasher
While rewiring my Mustang, I tested the turn signals with only the dash indicator bulb connected. The light came on solid and dim, and it never blinked. I replaced the original flasher with a new thermal one and got the exact same result.
The problem was load. A thermal flasher needs enough current flowing through it to heat its internal strip and make it cycle. One small bulb isn’t enough, and neither are LED bulbs. As soon as I installed this electronic turn signal flasher, that single bulb started blinking bright and strong.
Who This Flasher Is For
- Anyone converting a classic car’s turn signals or taillights to LED bulbs
- Restorers testing turn signal circuits one bulb at a time during a rewire
- Owners dealing with hyper-flash, a solid signal, or a weak, dim blink
- Drivers who want a stronger, more consistent flash without losing the click
Thermal vs. Electronic Turn Signal Flasher
An original thermal flasher uses a heated bimetallic strip to open and close the circuit, so its blink rate depends on the bulbs connected to it. Change the load and the flash changes too, or stops altogether.
An electronic flasher uses a small timing circuit instead. It keeps a steady rhythm no matter what bulbs you run, which is why it’s the cleaner fix for a classic car compared with wiring in load resistors that get hot and need careful mounting.
How to Install It
- Locate the original flasher, usually plugged into the fuse panel or clipped under the dash.
- Unplug the old round thermal flasher from its socket.
- Plug in the electronic flasher, matching its terminals to the power and load sides of your harness.
- Connect the ground wire to a clean, bare-metal chassis ground.
- Turn on the ignition and test both turn signals before buttoning everything back up.
If it doesn’t flash right away, double-check the ground connection first. Some vintage harnesses also have the power and load wires reversed, which may call for swapping the pins in the connector housing.
See It in Action
Want to see this flasher fix a real problem? My Shocking Turn Signal Fix For Classic Cars post explains why old thermal flashers stop blinking with LEDs or a single bulb, and includes the video where I install this electronic turn signal flasher and test it.
Install tip: Unlike the original two-prong flasher, this one needs its ground wire connected to bare metal. Check the terminal labels against your harness before plugging it in, and see this overview of automotive lighting for more background on how turn signal circuits work.