Early Mustang Trunk Divider Upgrade
How to upgrade your flimsy cardboard trunk divider with a heavy duty steel panel and install Boom Mat sound deadening to keep the good sound in and the road noise out
STEP-BY-STEP PROJECTSMUSTANG CONTENT
A few months back, i did a series of videos on how I installed a stealth Bluetooth stereo system in my 1966 Mustang. In those videos, I kinda glossed over how I enclosed the space between the back seat and the trunk. Today, i want to go over what I used and how I put it all together.
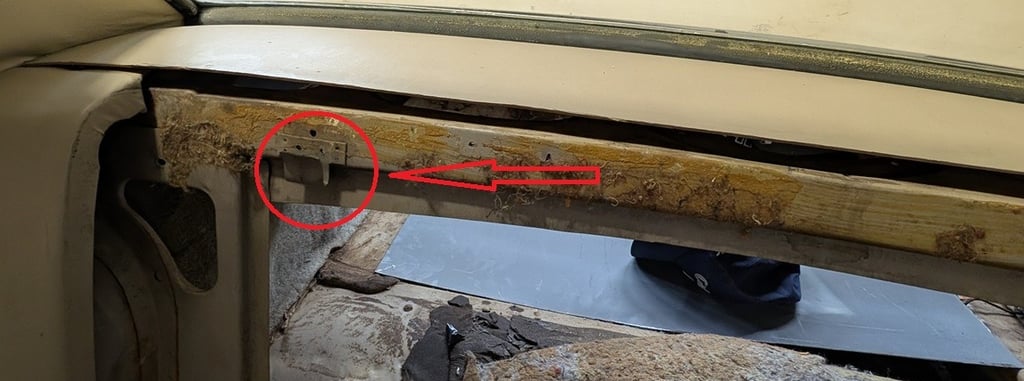
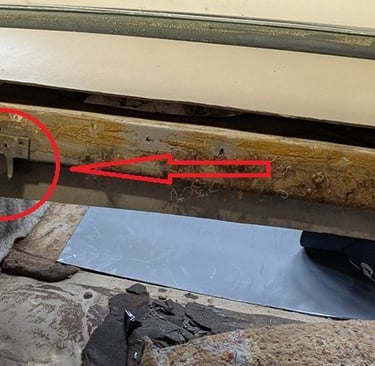
I started off the project by removing the rear seatback from the car, there are two bolts at the bottom that will need to be removed, you can find them by pushing down of the bottom seat and looking for two hoops whit a bolt going through them. Once those two bolts are removed, you can tug upwards on the seatback and lift the whole thing up and out. Once removed, you will see the two hooks that hold the seatback in place.
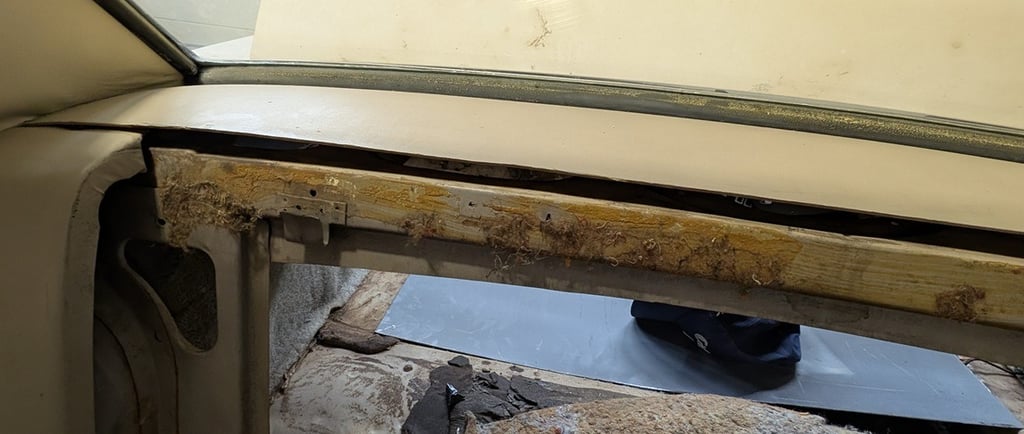
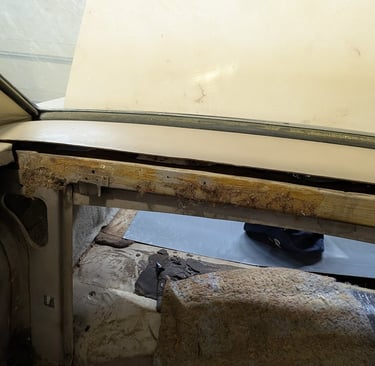
Unfortunately, i did not get a pic of the beat up cardboard trunk divider when i removed it, but it was in pretty bad shape. I couldn't even use it for a patter for the sheet metal I was about to make. In the pic above, you can see that there is a nice flat space all around the perimeter that is perfect for mounting the panel. Below is an image of the spare shelving panels I had leftover from a store I used to own. They were a perfect thickness for this project
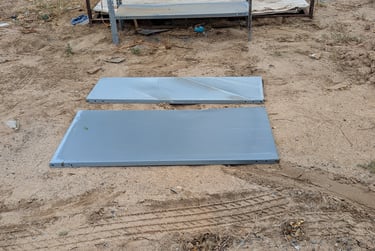
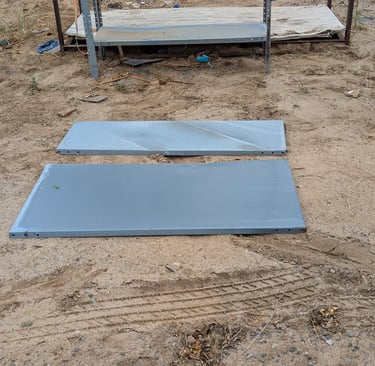
Next, I took some measurements and cut out the shape, you have to be careful with this, because it is not a perfect rectangle, there is a bit of an arch at the top that you will need to consider. Start by taking the highest measurement and then start trimming down from the center out. Once you have the panel fitted to your liking, make sure to use a grinder to smooth out the edges so that you don't risk cutting your upholstery or yourself. Now you can proceed to paint it. You don't necessarily need to paint the side facing the inside of the car because it will not show behind the seat, but it would be a good idea to at least primer it so that it does not rust, especially the cut edges. Next, you will need to think about how you want your trunk to look, especially if you want it to show nicely for car shows. I went with a matching exterior paint color that i was able to find at Home Depot. It is not exact, but for up inside the trunk, it didn't really matter. Below is a shot from the interior and trunk side.
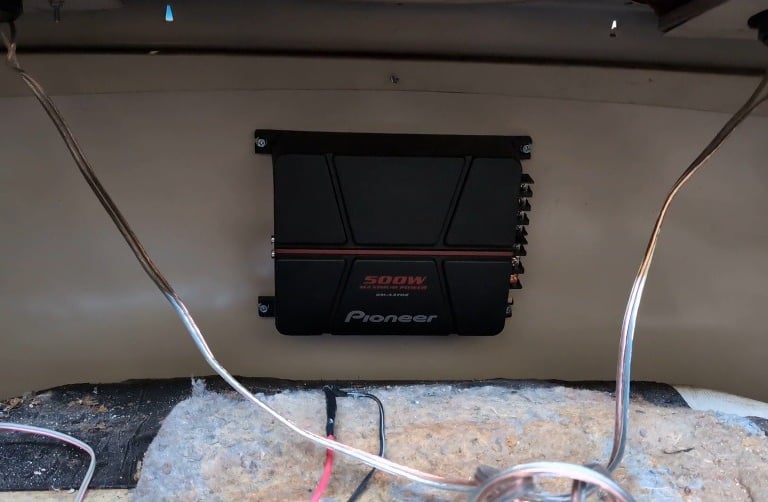
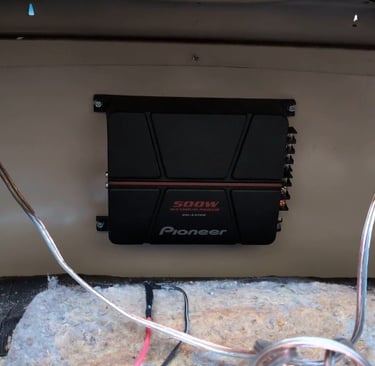
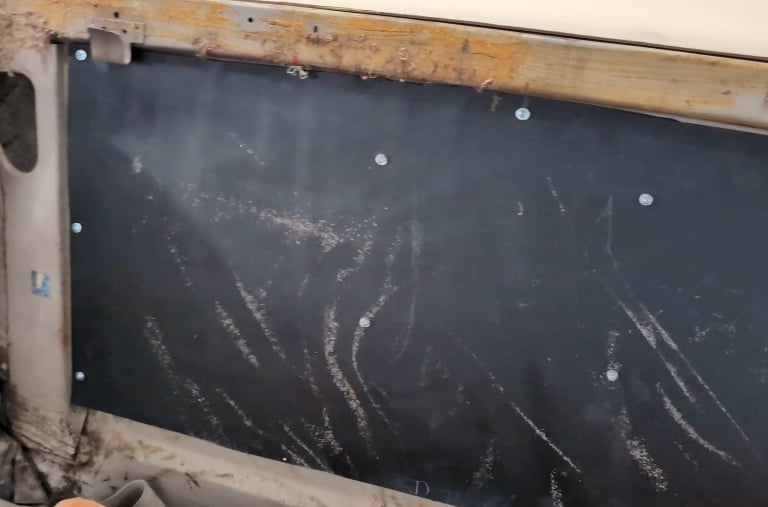
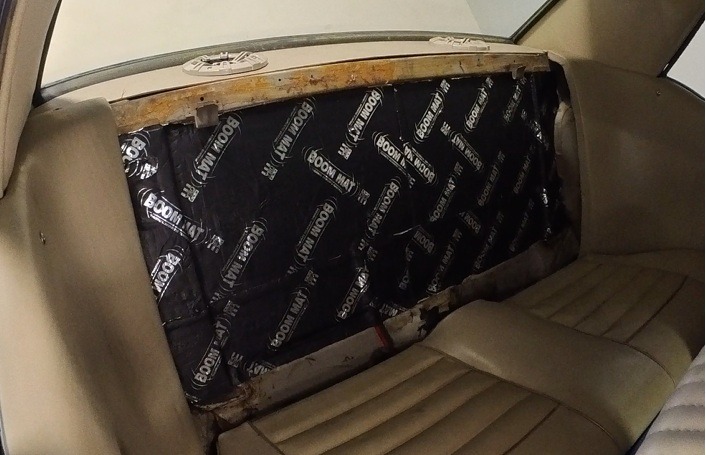
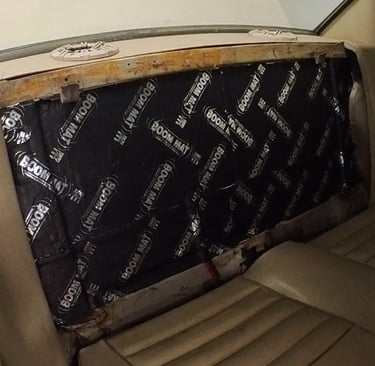
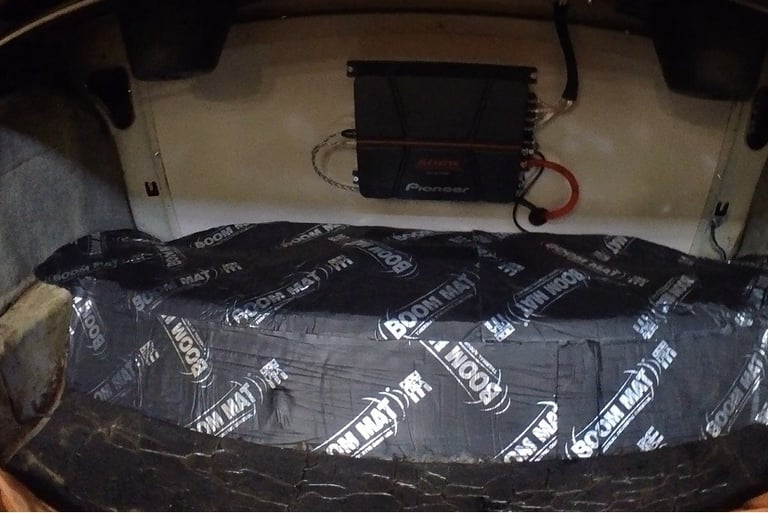
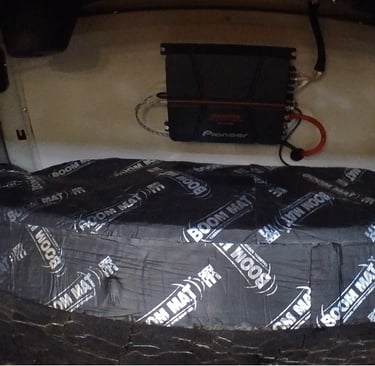
On the first image, you can see where I used self- tapping, Sheetmetal screws to hold the metal panel in place. For the amp, I used small bolts with locknuts in the back. Below are a couple of images of the finished panel with sound deadening material installed. I wanted to have some decent compression in the trunk to help drive the Kicker speakers I installed on the rear tray, so in the trunk side I layered some Boom Mat all along the bottom. And then to make sure that panel didn't vibrate, I covered the entire thing with the same Boom Mat. When you go back and look at the first pic above, you will see there are some factory holes to the left and right of the panel divider. I did not want any air passing from the trunk to the interior, so I covered everything with Boom Mat.
I hope this helps with your next project! I have a short video below you can see some of the work I did. Also, if you are interested in any of the materials I used, click the links below to check them out on Amazon. As an Amazon associate I may receive a small commission for any purchases you might make.

CARL'S CLASSIC CAR GARAGE
Dedicated to preserving automotive history through restoration and sharing knowledge with fellow enthusiasts.
A Division of CCCG Media, LLC