How to Fix LED Hyper-Flash in Classic Cars: The Electronic Flasher Guide
Tired of rapid blinking? Learn how to fix LED hyper-flash in classic cars by upgrading to an electronic flasher relay. No more 'solid' dash lights—just a perfect blink.
ELECTRICAL
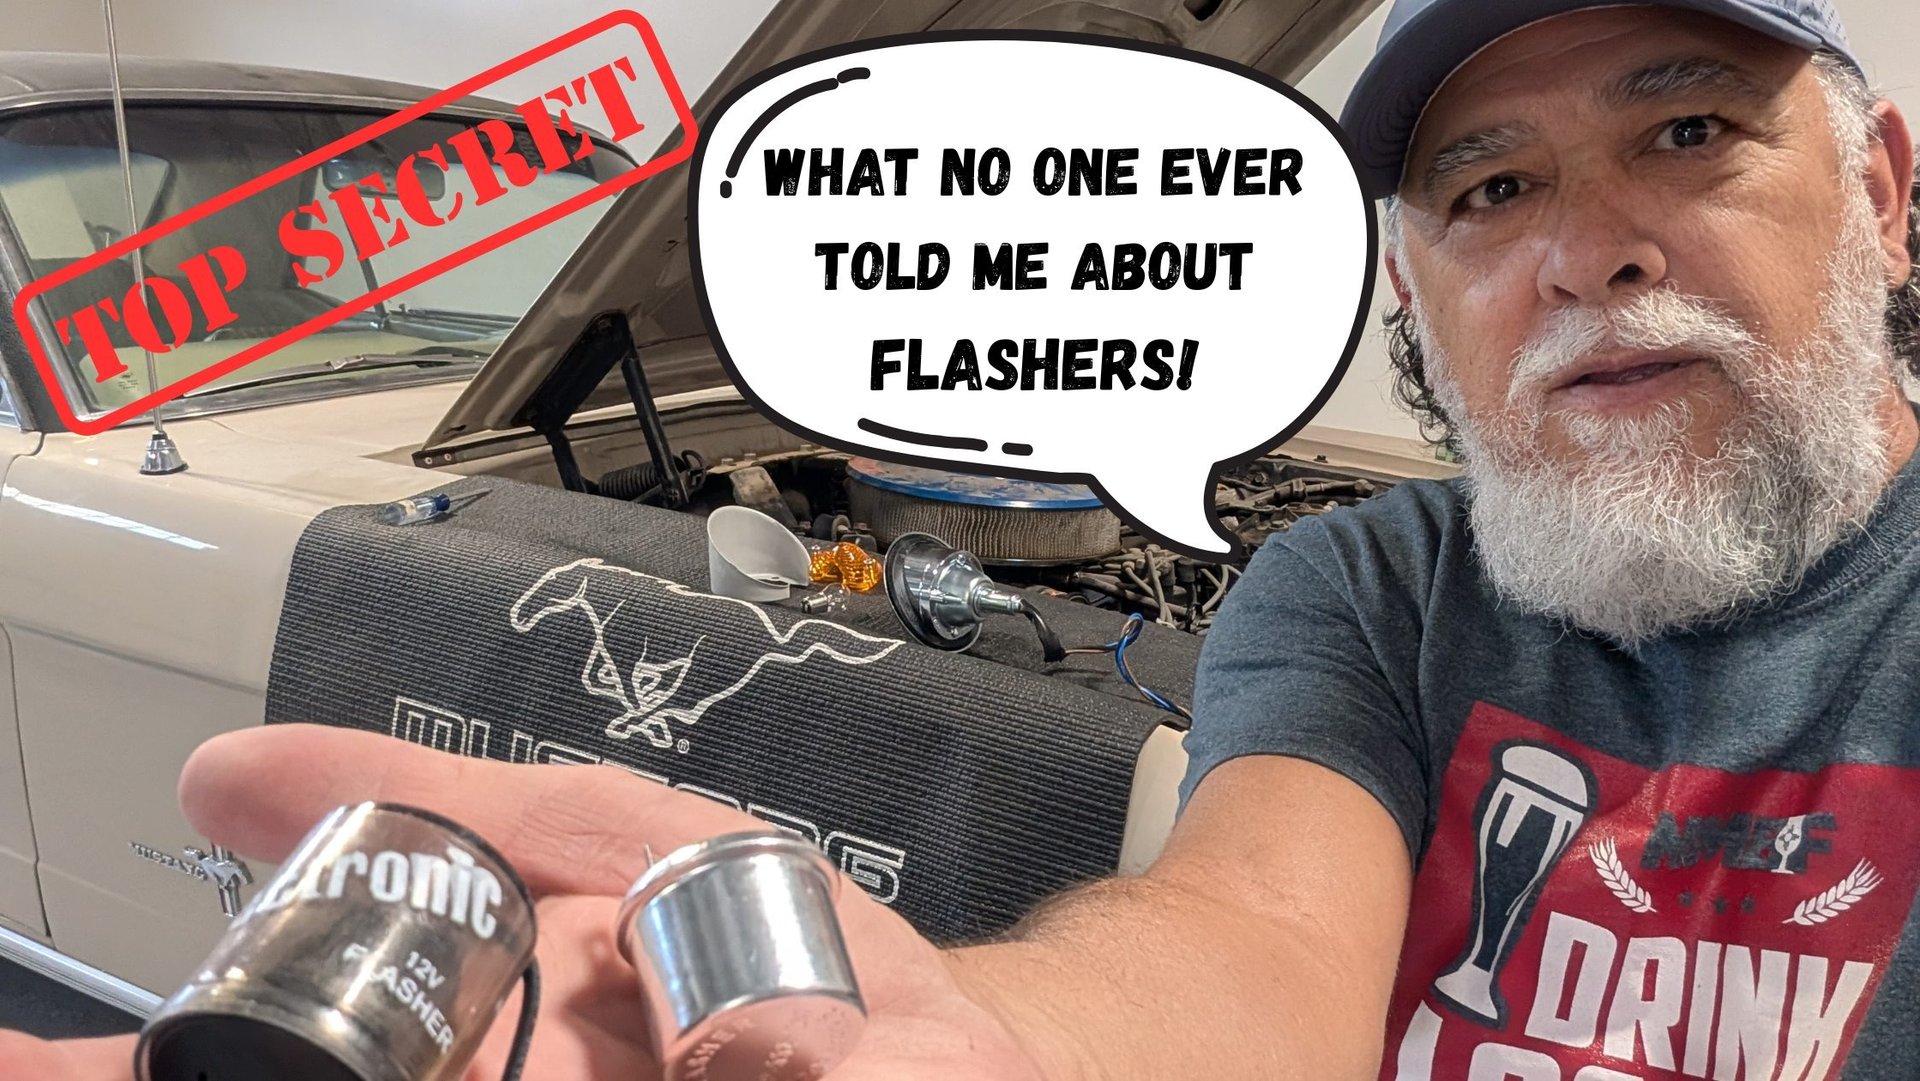
Stop the Hyper-Flash: Why Your Classic Car LED Upgrade Needs an Electronic Relay
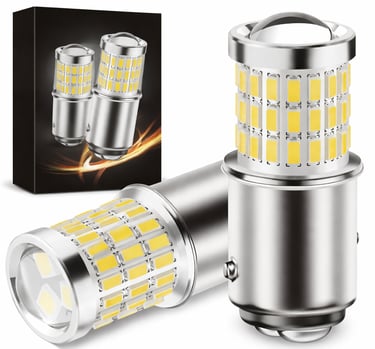
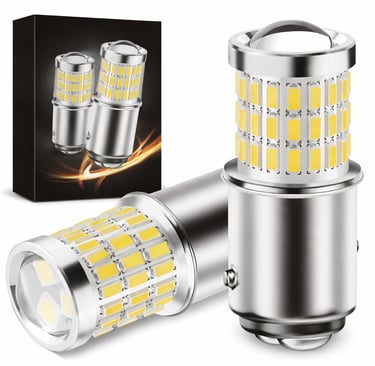
Upgrading your vintage ride to LED lighting is one of the smartest "weekend projects" you can tackle. It dramatically improves visibility, reduces the draw on your aging alternator, and makes your turn signals actually visible in broad daylight.
However, many enthusiasts hit a snag immediately after installation: the turn signals either blink at a frantic "hyper-flash" pace or stay solidly lit without blinking at all.
If you’re staring at a frozen green arrow on your dashboard, don’t worry—your new bulbs aren't broken. The issue is a simple mismatch between modern efficiency and vintage physics.ost content
Why Your Original Flasher Fails with LEDs
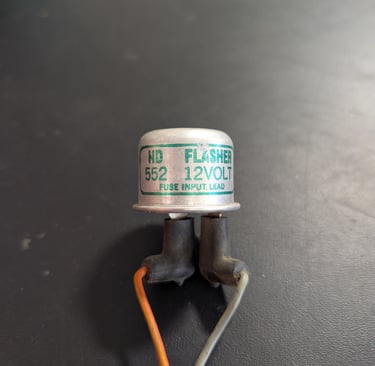
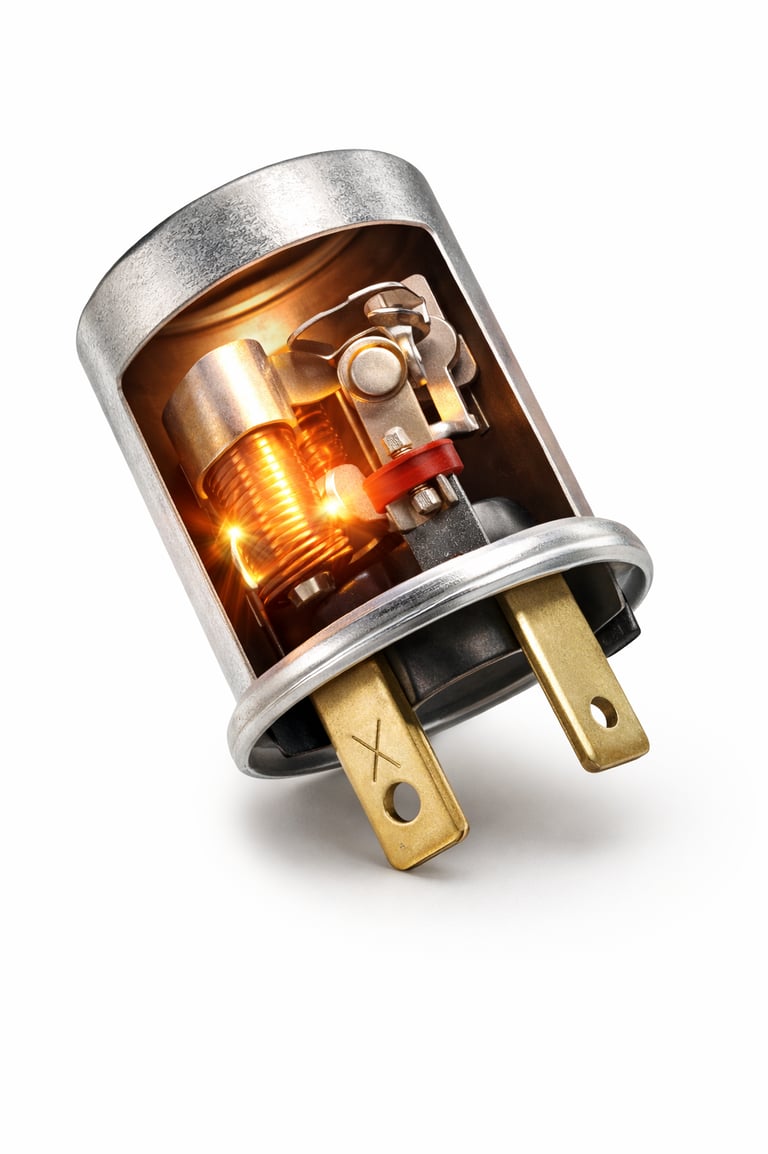
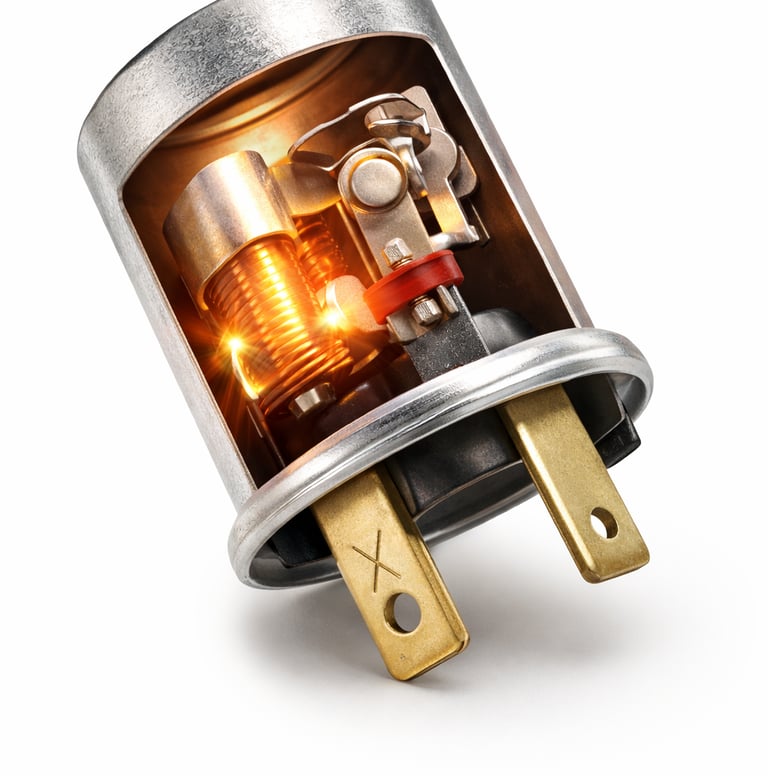
To understand the fix, you have to understand the old-school thermal flasher.
Inside that classic metal canister is a bimetallic strip. As electricity flows to your original incandescent bulbs, it heats that strip until it bends, breaking the circuit (lights off). Once it cools, it snaps back, reconnecting the circuit (lights on). This physical heating and cooling cycle is what creates the "click-clack" rhythm of your blinkers.
The LED Conflict:
LEDs are incredibly efficient. They draw so little current that they never generate enough heat to bend that bimetallic strip. To your vintage flasher, it feels like the bulbs are burnt out, resulting in a rapid "bulb out" warning (hyper-flash) or no flash at all.
The Solution: The "No-Load" Electronic Flasher
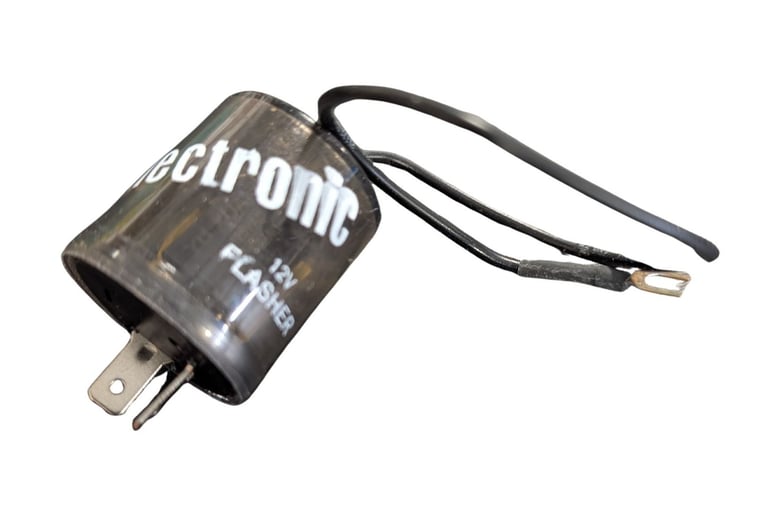
The most professional way to solve this is to replace your thermal unit with an Electronic LED Flasher Relay.
Unlike the mechanical units of the 1960s and 70s, electronic relays use an internal timing chip (an Integrated Circuit) to control the pulse. Because they rely on a digital clock rather than heat, they provide a rock-solid, consistent flash rate regardless of how little power your bulbs consume.
Key Benefits:
Consistent Timing: Your blinkers will flash at the exact same speed every time.
Lower Operating Temp: Electronic units don't rely on heat, making them safer for old wiring harnesses.
True Plug-and-Play: In most cases, it is a direct physical swap for your original canister.
Installation Tips: Watch Your Polarity
While the physical swap is easy, electronic units are directional. While an old thermal flasher didn't care which way the power flowed, an electronic circuit does.
When installing your new relay, keep these two pin labels in mind:
Terminal X (or 49): This connects to your Power source (Battery/Ignition).
Terminal L (or 49a): This connects to your Load (the turn signal switch and bulbs).
Pro Tip for Classic GM & Ford Owners: > Some vintage vehicles have the power and load wires reversed in the factory plug. If your electronic flasher doesn't work immediately, you may need a simple polarity-reversing adapter or to swap the pins in the plastic connector housing.
Getting the "Click" Back
If you miss the nostalgic "click" sound of your original blinkers, look for an electronic flasher with a built-in acoustic signal. Modern high-quality relays include a small internal beeper or mechanical clicker so you don't accidentally leave your signal on for three miles of highway.
By swapping to a "no-load" electronic relay, you’re bringing your classic’s safety into the 21st century without losing that vintage charm.

Affiliate Disclosure
Some of the links on this website are affiliate links. As an Amazon Associate, I earn from qualifying purchases. This means that if you click on a link and make a purchase, I may receive a small commission at no additional cost to you.
I only recommend products that I have used personally or believe will provide value to fellow enthusiasts. Your support helps keep this site running and allows me to continue creating helpful content. Thank you.

My full video on electronic flasher installation
CARL'S CLASSIC CAR GARAGE
Dedicated to preserving automotive history through restoration and sharing knowledge with fellow enthusiasts.
A Division of CCCG Media, LLC