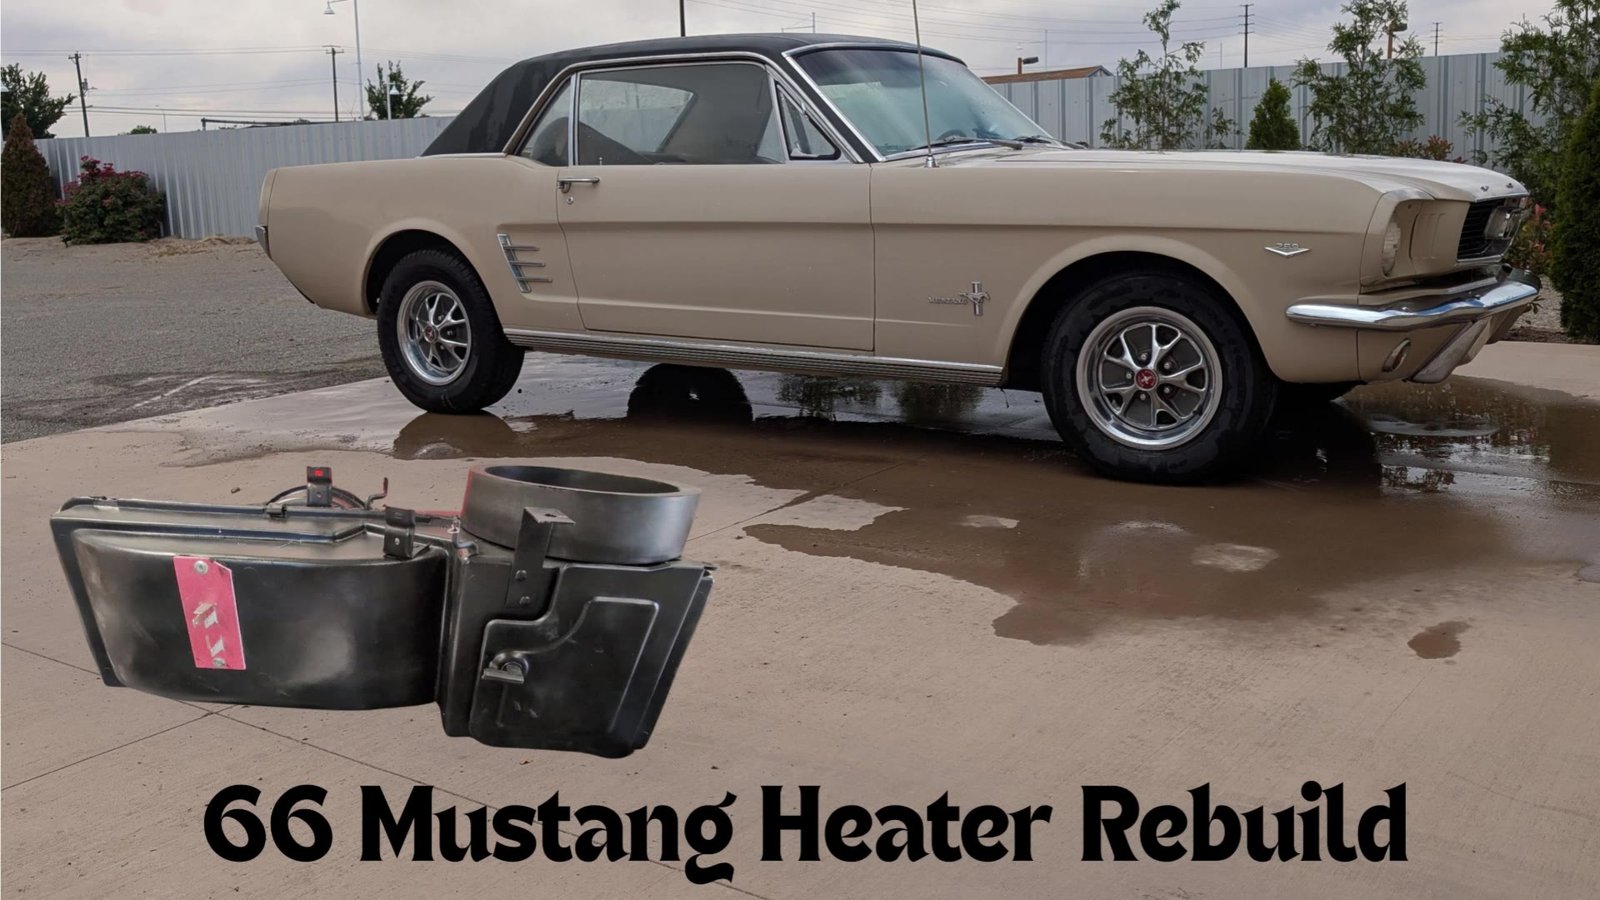
1965-1966 Mustang Heater Box Rebuild: Full Restoration Guide
The heater box in an early Mustang lives in a rough spot. It sits under the dash, right below the cowl vent, so 50-plus years of leaves, water and grit end up inside it. Mine was rusty, the gaskets were shot and the original blower motor was not working.
So I pulled it out and did a full Mustang heater box rebuild on my 1966 Mustang. The 1965 Mustang uses the same box, so everything here applies to both years.
Below I’ll walk through removal, teardown, rust cleanup, paint, the gasket kit, reassembly and reinstalling it. I’ll also share a couple of things I’d do differently, and my honest take on whether rebuilding is worth it.
Rebuild or Buy a New Mustang Heater Box?
Let me be straight with you up front. This was a lot of work. Between the teardown, cleaning, painting and fighting the gaskets and clips during reassembly, it took me far longer than I expected, and it wasn’t much fun.
It came out great and I’m happy with the results. But if you can afford a complete new or rebuilt heater box, I’d strongly recommend buying one. If you’d rather save the money, or you want to keep your original box, here’s exactly how I did it.
Parts and Supplies for a Mustang Heater Box Rebuild
These are the replacement parts I used:
- Heater box gasket kit
- Replacement blower motor
- Blower motor resistor
- Replacement defroster plenum
- Heater box clips
- Replacement heater core (I kept my original, but grab one if yours leaks)
Plus a few shop supplies for the Mustang heater box rebuild that you can pick up anywhere:
- Cleaning vinegar (I used White House Cleaning Vinegar, a multipurpose cleaner) and a bucket
- A small wire wheel or wire brush
- Acetone or lacquer thinner for final cleanup
- Satin black paint
- Black epoxy for cracks in the housing
- Black RTV silicone and Gorilla Glue spray adhesive (rated for foam and metal) for the gaskets
- WD-40 for stuck fasteners
- Small cotter pins and washers, plus a drain pan for coolant
As an Amazon Associate, I earn from qualifying purchases. This doesn’t cost you anything extra, and it helps support the garage.
Step 1: Disconnect the Cables, Hoses and Wiring
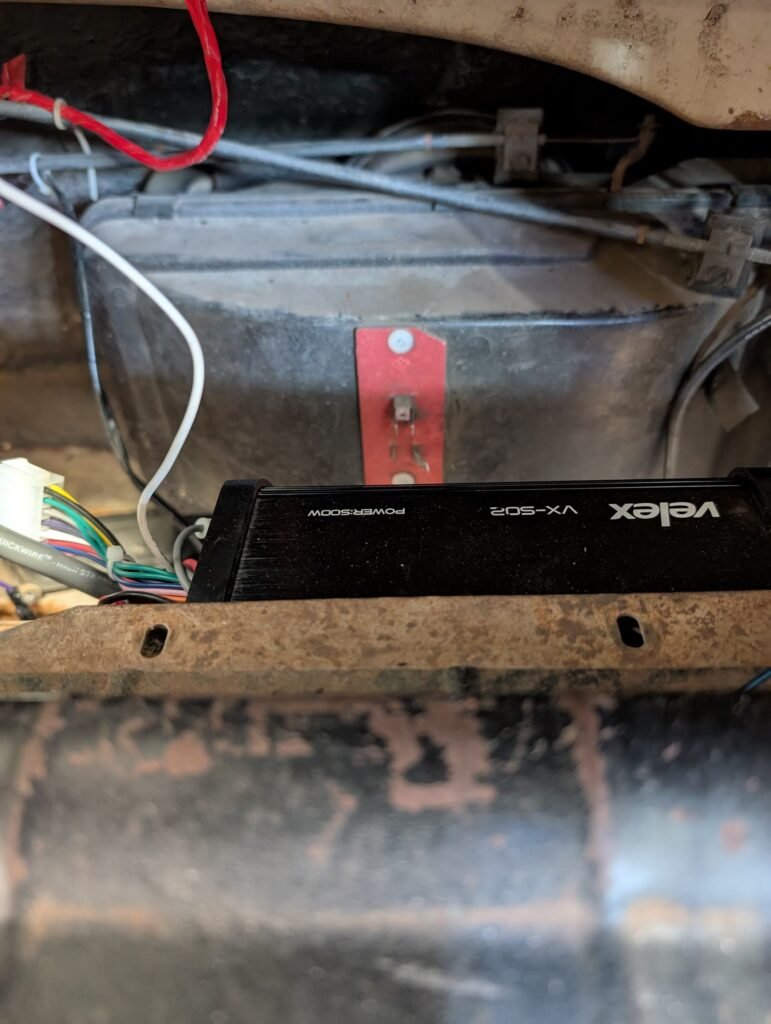
Start under the dash with the heater control cables. Each one has a screw on each side and a small press-on cap on the pivot arm. Pop the cap off, and the cable and spring slide off the arm.
Next, disconnect the two heater hoses at the engine side. Put a drain pan underneath to catch the coolant. Then check for the electrical connections to the blower motor and unplug them.
Step 2: Unbolt the Heater Box and Pull It Out
Remove the four nuts holding the motor housing to the firewall from the engine side. Then head back inside and work the box down and out from under the dash.
I left the hoses attached to the heater core and pulled them through the firewall with the box, then disconnected them over a drain pan. Be careful here. The housing is a fragile fiberglass-type material, and tugging on the hoses is how I put a couple of small cracks in mine.
Step 3: Tear Down the Heater Box on the Bench
On the bench, the case comes apart pretty easily. Expect more coolant to drain out, plus a pile of debris. The vent on top collects junk from the cowl, and that trapped moisture is what rusts these boxes out.
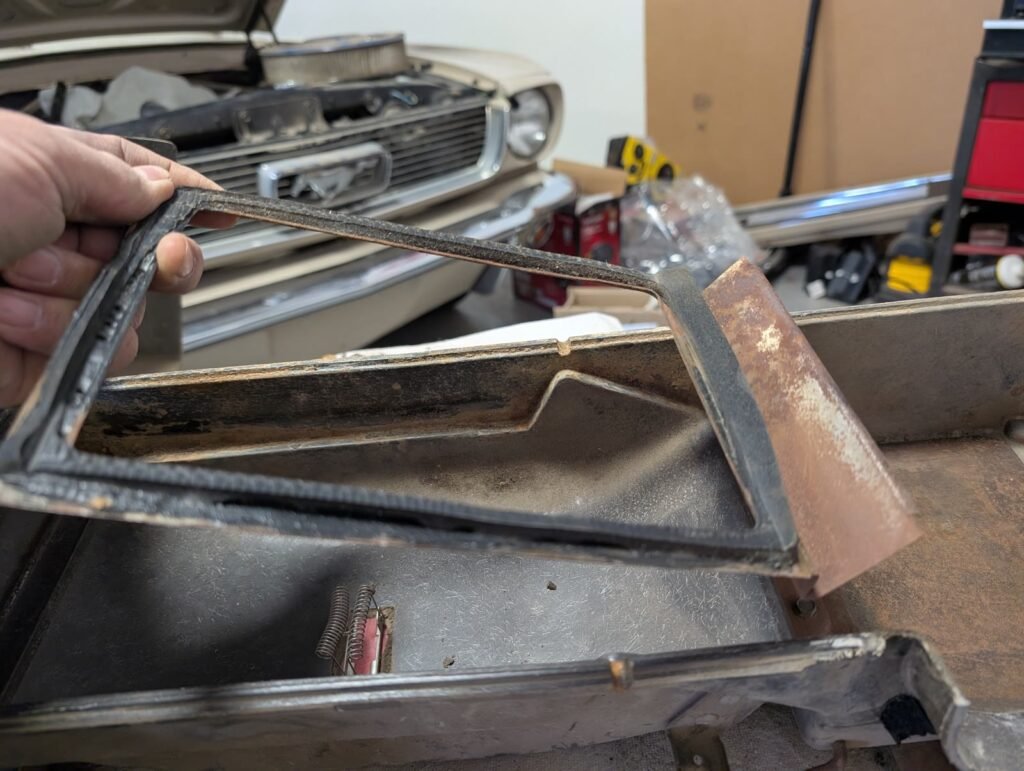
The old gaskets were a fibrous material that had crumbled and stuck hard to the metal. Scrape off as much as you can now. The sheet metal needs to be completely clean before paint.
Check the Heater Core Before You Replace It
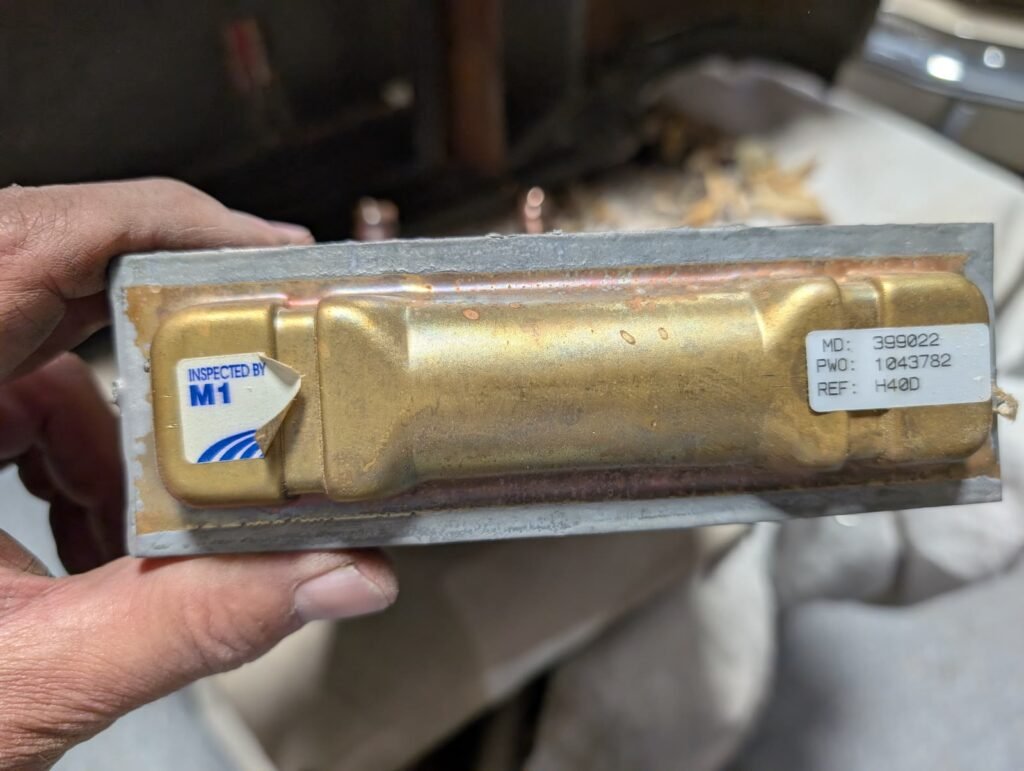
I planned to replace my heater core, but mine turned out to be in really good shape. It’s a brass and copper core with a tag showing it had been replaced at some point before I owned the car, and there was no sign of a leak. Most new replacements are aluminum, so I kept the original.
If yours is leaking, crusty or clogged, replace it while the box is apart. You don’t want to do this job twice.
Removing the Blower Motor
Mine looked original and grungy, so I didn’t bother testing it. You can test a motor with a hot lead and a ground, but I didn’t want to go through all of this again just to have the motor fail. Take the four nuts off and the motor and fan come out as one piece.
Note the orientation before you pull it. The screw leads on the motor face the upper part of the box when it goes back together.
Buy the Motor Only and Save the Fan Cage
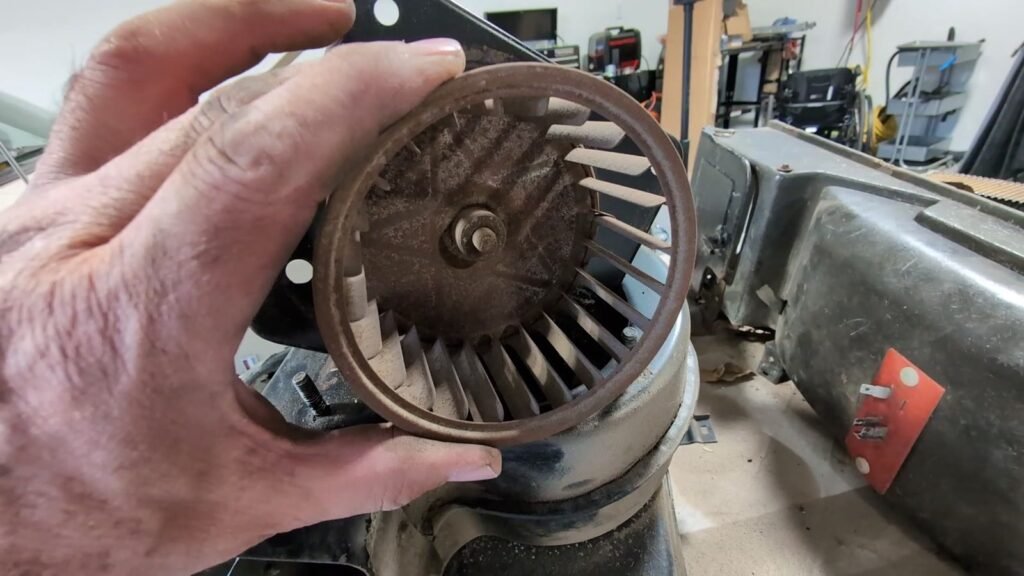
Parts stores sell the blower motor two ways: the motor by itself, or a complete assembly with the fan cage. The motor alone is cheaper, but you have to get the fan cage off the old motor shaft. It’s held by a set screw and is often rusted on.
The catch is that if you pry on the cage and bend it even slightly out of round, it’ll vibrate like crazy once the motor spins up. If yours won’t come off without force, buy the complete assembly.
Here’s what worked for me. I soaked it with WD-40 and let it sit, then tapped it gently with the butt of a screwdriver handle while holding the cage loosely. Never hit it steel on steel. It broke free most of the way but bound up near the top, so I pushed it back down, cleaned the rust off the shaft with a small wire brush, and it slid right off without forcing it. That saved me the cost of the full assembly.
Step 4: Check the Fiberglass Housing for Cracks
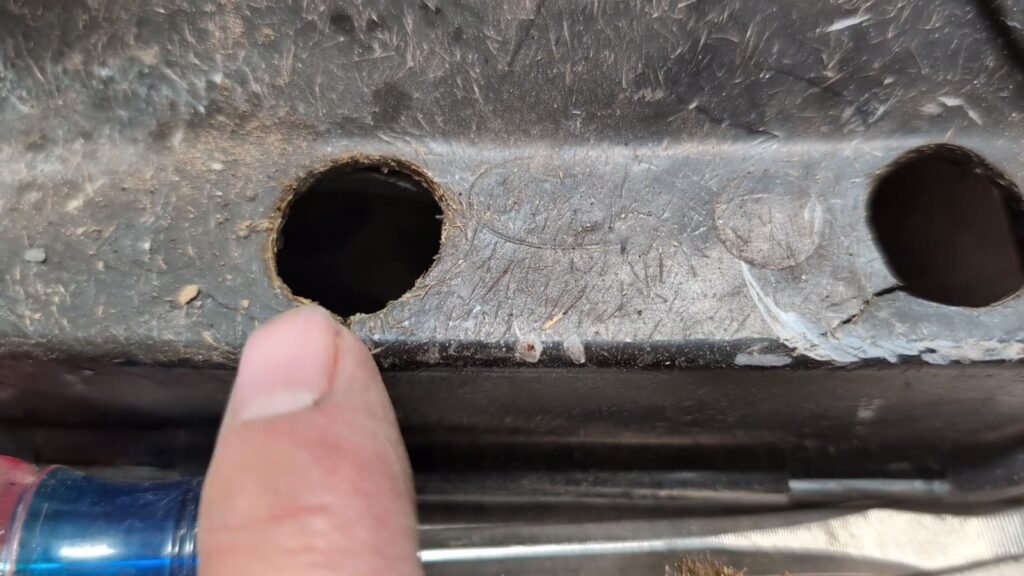
Look closely around the holes where the heater hoses pass through the housing. Mine had small cracks on both sides. They weren’t separated, just fractured.
I worked black epoxy into the cracks from the inside and smoothed some over the front so they wouldn’t spread. A light sanding knocks down the rough, prickly spots before paint.
Step 5: Strip the Rust
I hit all the surface rust with a small wire wheel to get the bulk of it off.
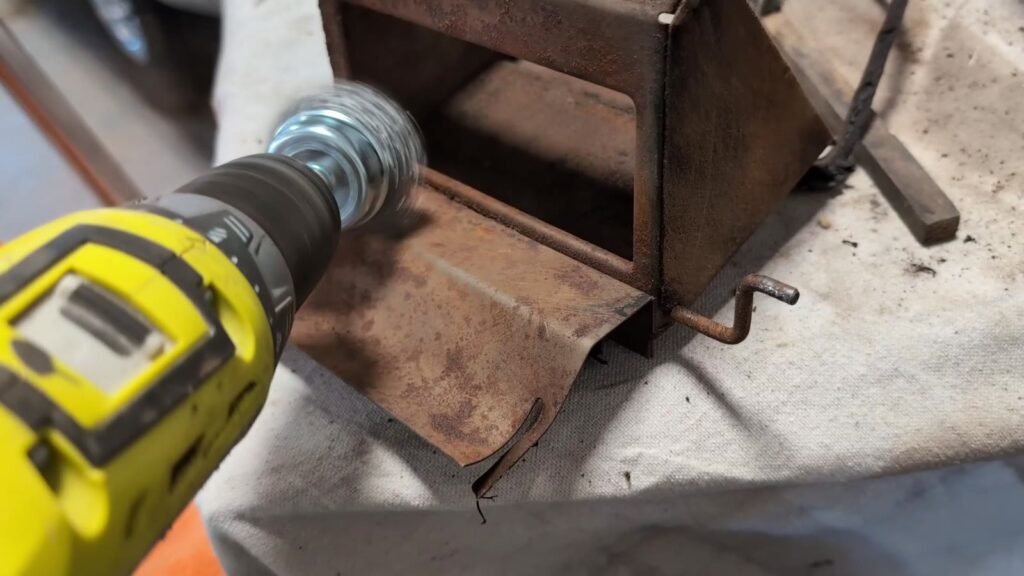
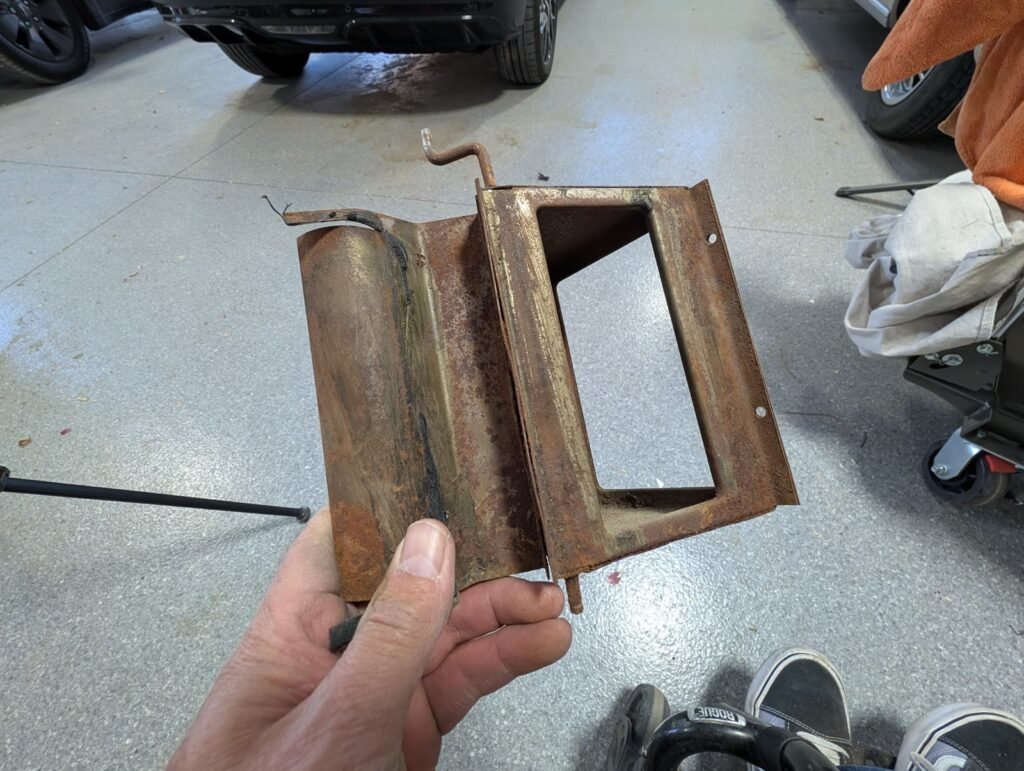
I also removed the heater door flap so I could clean all the way around it. It’s held by two screws and sandwiched around the rod, so it takes a little gentle prying to pop out. I left the rod in place because it’s held with a push-on retainer that I didn’t think would go back on right. The other door and bracket are riveted, so I cleaned and painted those in place.
Don’t Clean Parts with WD-40 Before Paint
Early on I wiped some parts down with WD-40. Don’t do that if you plan to paint. It’s oil-based and will cause adhesion problems. Use acetone, lacquer thinner or vinegar for the final cleanup instead.
Soak the Parts in Vinegar for 24 Hours
For the caked-on rust the wire wheel couldn’t reach, I picked up a gallon of White House Cleaning Vinegar. It’s sold as a multipurpose cleaner and is a stronger concentrate than regular household vinegar.
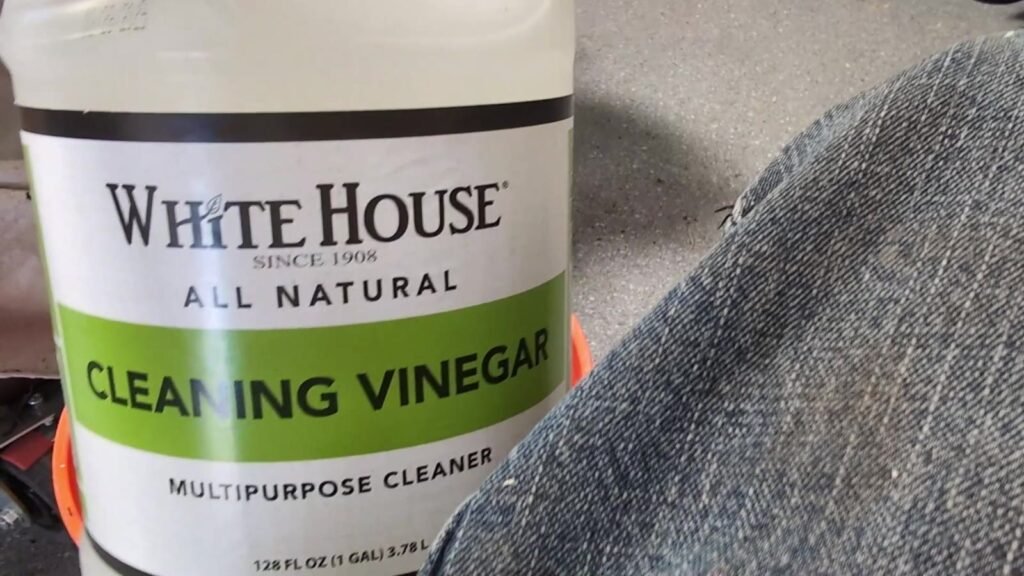
I poured it into a bucket, dropped the parts in and let them soak for 24 hours. One gallon wasn’t quite deep enough to cover everything, so I rotated the parts periodically to get every surface.
Step 6: Paint Everything Satin Black
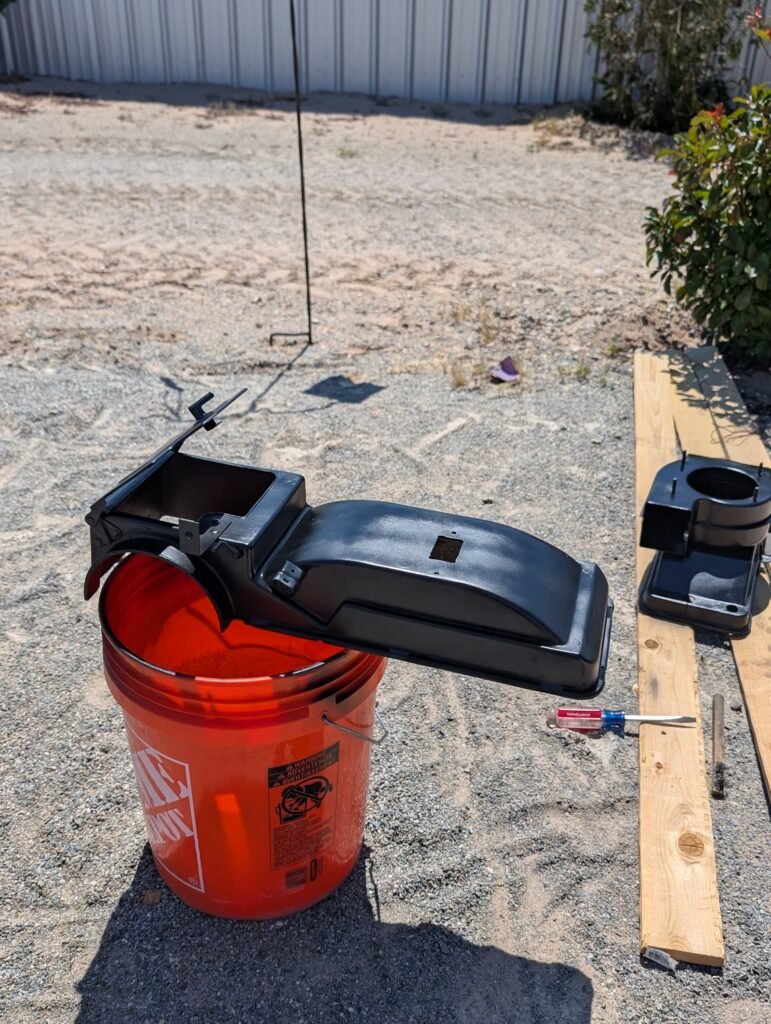
After the soak and a final cleaning, I painted the whole casing and the metal parts satin black, inside and out. It looks factory-fresh, and a good coat of paint will protect it for the next go-around.
Step 7: Lay Out the Gasket Kit and Reassemble
The gasket kit is the heart of a Mustang heater box rebuild, but mine came with poor, hand-drawn instructions. Before gluing anything, I laid out every gasket next to the piece it belongs to so I wouldn’t mix anything up. I’d recommend doing the same.
Choosing a Gasket Adhesive
The kit didn’t say what adhesive to use. I started with black RTV silicone because it was similar to what I’d scraped off the old parts. It took too long to dry and hold the gaskets in place, so I switched to Gorilla Glue spray adhesive, which is rated for foam and metal. That worked much better.
The New Defroster Plenum
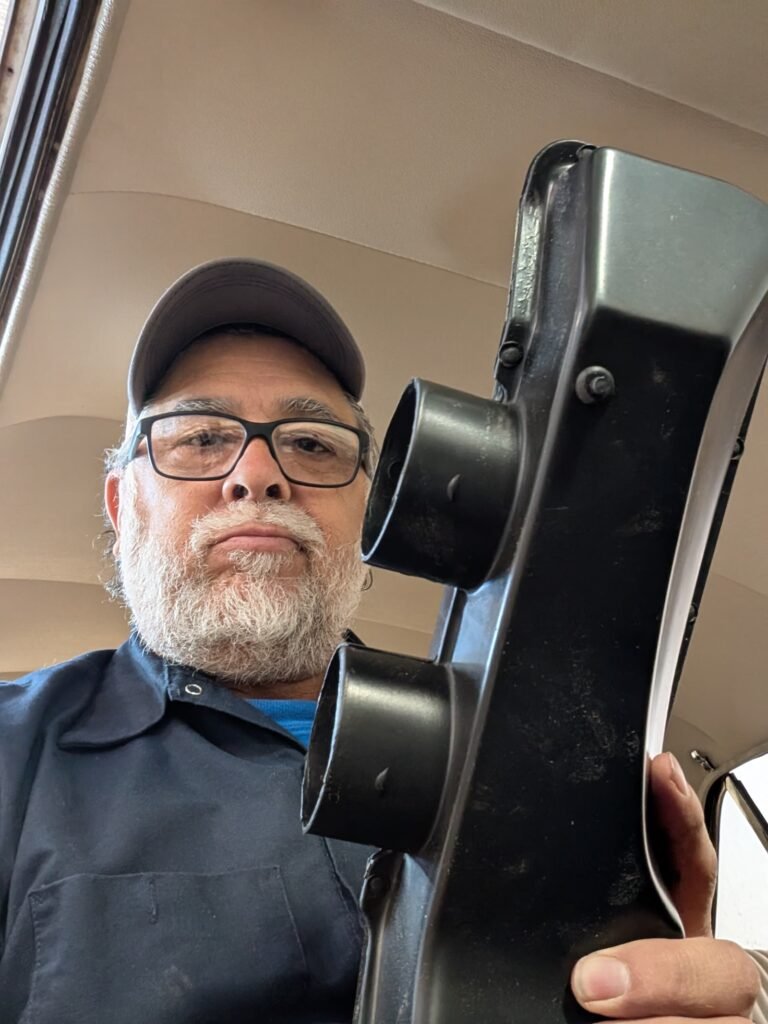
I couldn’t figure out where one leftover piece from the old cardboard plenum went. It turns out the new replacement plenum already has that piece built in, so you don’t need to transfer it.
Install the Heater Box Clips
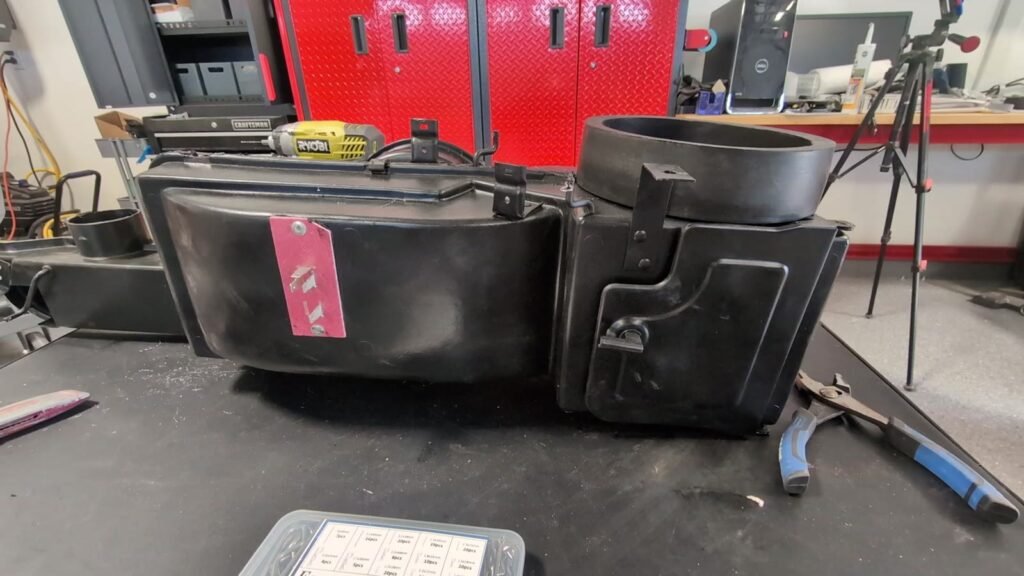
This is the hardest part of any Mustang heater box rebuild. Some of my original clips were bent or broken to the point that they wouldn’t go back on, which is why I bought a new set. Getting the case halves compressed with the core inside was a real fight. I pushed a little too hard at one point and felt the housing make a small fracture noise, so go easy. A little more black adhesive around the seams helped hold everything together.
Upgrade: Cotter Pins Instead of Press-On Caps
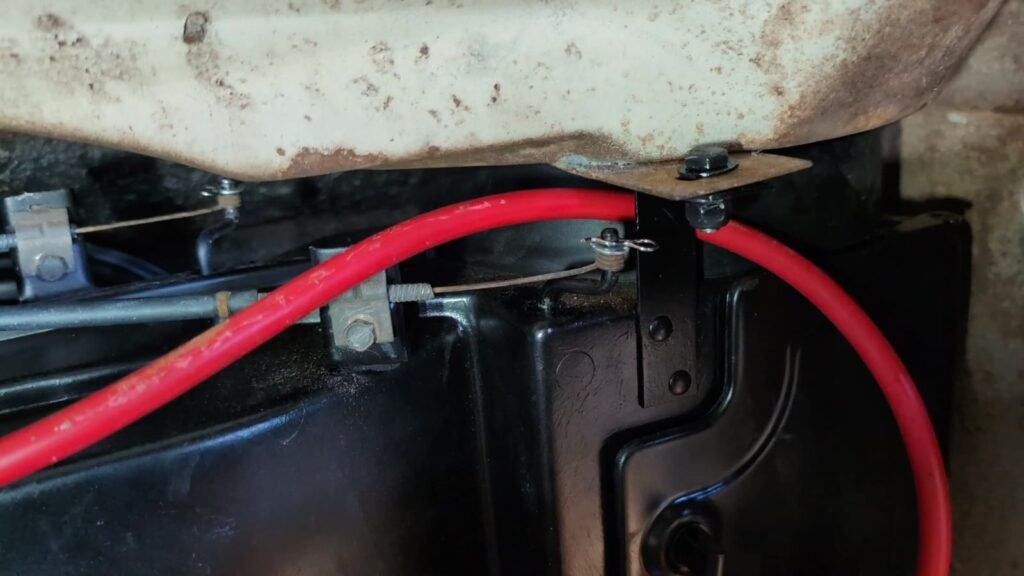
The heater cable pivot arms (two on the box and one on the defroster damper) originally use small press-on metal caps. They’re hard to remove without ruining them, my kit didn’t include new ones, and squeezing them on up under the dash is asking to break something.
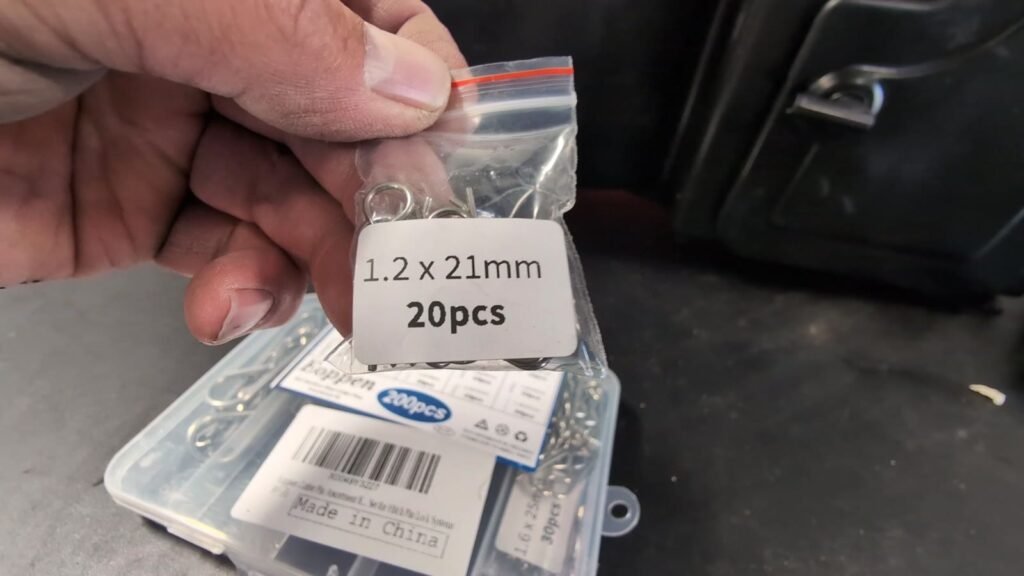
Instead, I marked each pivot rod with a spring-loaded center punch and drilled a tiny hole through it. Then I slipped the cable on, added a flat washer and pushed a cotter pin through the hole. The 1.2 x 21 mm size fit my holes. You can find cotter pins at any hardware store, and they’re much easier to deal with if you ever need to take the cables off again.
Step 8: Reinstall the Heater Box
Connect the hoses to the heater core first, then feed them through the firewall as you raise the housing into place. Don’t force it. If you have a helper, have them gently pull the hoses from the engine side while you push from inside. The housing is fragile, and shoving it can crack the case or bend the heater core tubes and cause a leak.
If you’re working alone, an adjustable support stand under the box makes it much easier to hold it in place while you start the nuts.
For the motor flange on the firewall, I skipped the reproduction nuts. They came with handy rubber washers, but I didn’t trust the nuts not to strip. I used regular quarter-inch nuts with a flat washer and a star lock washer instead.
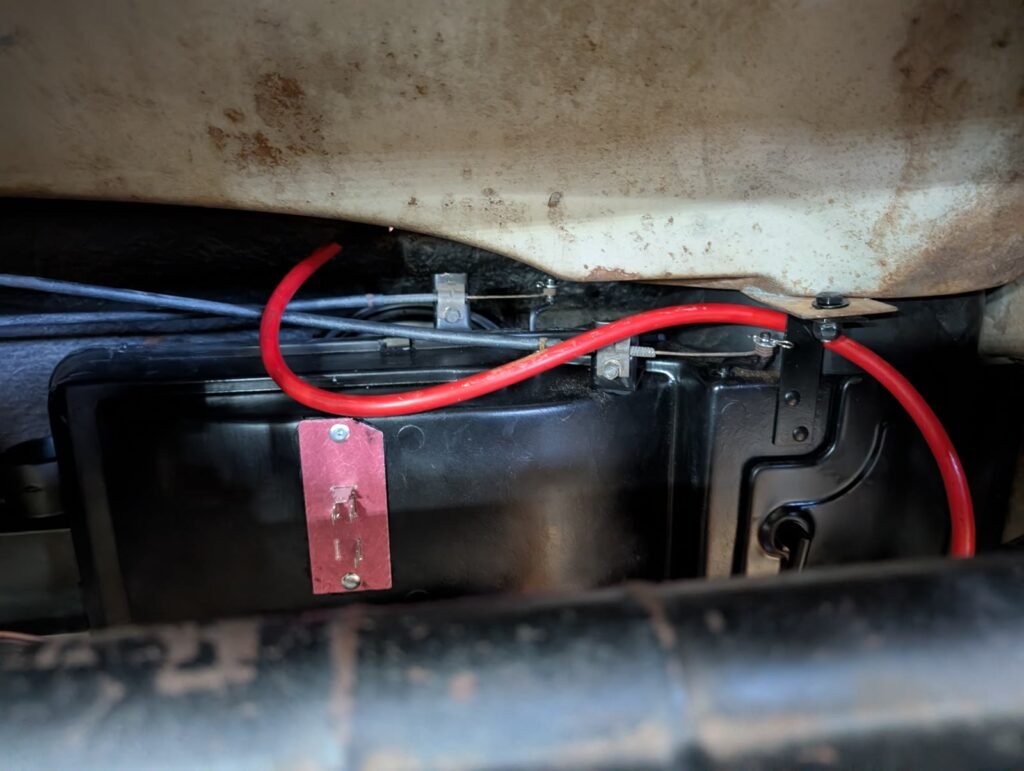
Finally, hook up the control cables and adjust them so the knobs are fully extended in the upright position. Tie in the wiring, cut the hoses to length, add clamps and refill the coolant. Note that my defroster plenum didn’t come with hose clamps for the lower connection, so order those ahead of time.
Mustang Heater Box Rebuild FAQ
Do I need to replace the heater core during a rebuild?
Not always. If your core is solid with no leaks, corrosion or clogging, you can reuse it. Mine was a brass and copper replacement in good shape, so I kept it. If there’s any doubt, replace it while the box is out.
Can I buy just the blower motor instead of the whole assembly?
Yes, and it’s cheaper. You just have to reuse your fan cage. If the cage is rusted on and you have to pry or bend it to get it off, buy the complete assembly instead. A bent cage will vibrate badly.
What adhesive should I use for the heater box gaskets?
My kit didn’t specify one. Black RTV silicone works but dries slowly. Gorilla Glue spray adhesive, rated for foam and metal, held the gaskets in place much faster for me.
How do you get rust off heater box parts?
I used a small wire wheel for surface rust, then soaked the parts for 24 hours in cleaning vinegar. Clean them with acetone or lacquer thinner afterward, not WD-40, so the paint sticks.
Is it worth rebuilding the original heater box?
It can be if you want to keep original parts or save money, and the results look great. But it’s a lot of work. If you can afford a complete new or rebuilt box, I’d recommend that route.
Final Thoughts
This Mustang heater box rebuild was one of the more frustrating projects I’ve done on the car, but the box came out clean, painted and sealed, with a new motor and resistor. Take your time, be gentle with the fiberglass housing, and lay out your gaskets before you glue anything.
While you’re working under the dash, check out my Mustang glove box insert install and my 1966 Mustang sound upgrade. If you have questions or your own heater box tips, leave them in the comments.